


The methods I discuss here are based on a Windows platform, but the techniques still apply to other OS's.
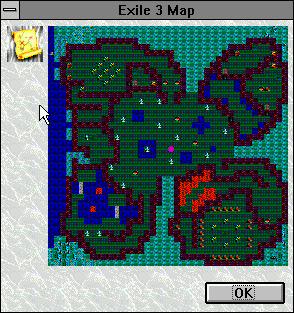
The next task is getting all the graphics you need to paint the picture. This sounds
easy enough. Just turn on the automap, and press Alt-PrintScreen to capture the
image. Open up Microsoft Paint, and paste it in with Ctl-v. What we get is the
picture at the right. But there are a few problems here that need to be fixed. First
of all, notice that there is an arrow icon overlapping the map section. Oops!
Also, there is a lot of area that is *not* the map. Not too big of a problem with a
town section, but you want to be able to paste your outdoor pictures neatly so it looks
like a real map. That means we will have to trim off the excess picture, a thing that
is called 'cropping'.
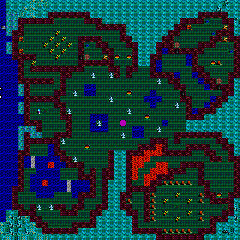 To crop the picture is relatively simple. Zoom in close enough so you can see
the individual pixels. Select the entire picture with a Ctl-A and drag it to the
upper left hand corner so that it just fits inside that corner. Next go to the lower
right hand corner of the picture and shrink the picture so that is includes just the
map. When you do this, you will find out that the automap displays a picture that is
240x240 pixels. Next time you will know that after aligning the top left corner, all
you need to do to trim the bottom right is to use the Image>Attributes menu option to
enter the width and height (240 and 240) and the box is cropped perfectly.
So far, so good. until you realize that the automap does not display the entire
section. It scrolls around as you move near the edges. That is because the map
section measures 288x288 pixels, and the automap only shows 240x240. NOTE: There are
three sizes of towns; small @192x192, medium @288x288 and large @384x384. Obviously the
small towns are no problem. Trim the top left by dragging, and set the image size to
192x192. But for everthing else. how do we get around this little problem?
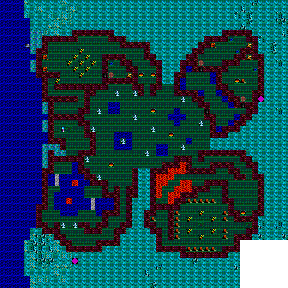
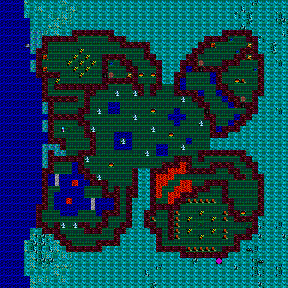
We're going to have to get four screenshots, crop them, and then merge them into one picture. Here are the four pieces cropped to 240x240:
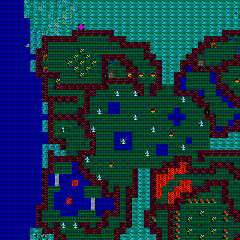
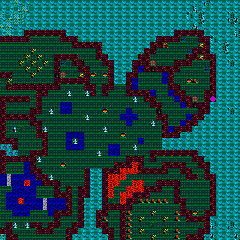
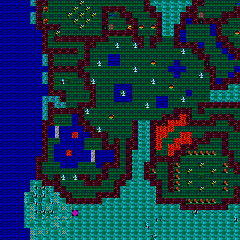
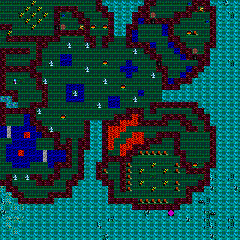
Now to merge them, open a new Paint window and size the picture to 288x288. Starting
with the northwest corner, open your partial pictures, select it with Ctl-A, Ctl-C, and
paste it into your final picture. Then scroll down so you can see the bottom left
corner, and paste in your southwest corner. Scroll up and right, add the northeast
corner, scroll down and add the southeast corner. Here is the sequence:
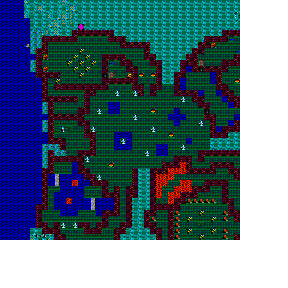
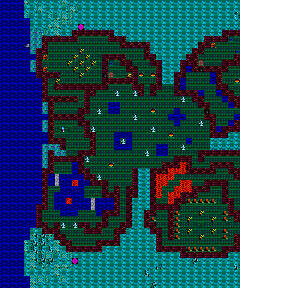
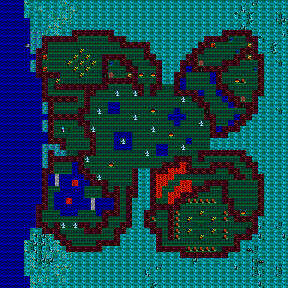
One last little detail to be taken care of. Notice the marker that shows where your
party is. This needs to be removed so that it does not conflict with your later
markups. I keep another picture that has copies of plain floor sections. Each
piece measures 6x6 pixels. I also make sure that when I make the initial screen shot
that I am standing on one of those plain floor types. Then when I am done merging, I
select and copy the correct piece, and paste it over the marker. Compare what we
started with, with the completed picture.

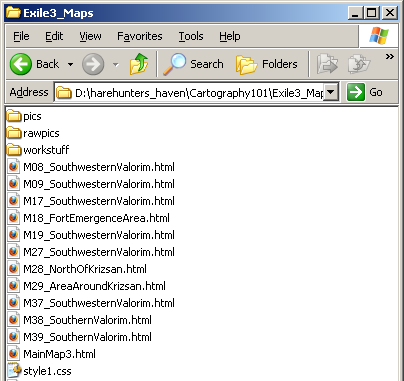
One final word about file storage. Keep your finalized pictures in a designated
folder (I use rawpics), separate from your work folder and separate from your final images
folder that you reference in your html pages. Your directory tree should look like
this. Copy the picture you are woking on into the workstuff folder, work on it, then
move the finished work into the pics folder.
MOST IMPORTANTLY: MAKE A BACKUP COPY OF YOUR ENTIRE WORK!!!
I cannot emphasize this enough. After almost three decades of experience working with
computers, the most important lesson I wish to impart on you is the importance of backing
up your work.